Guitar solos are one of the building blocks of rock and metal music and having a great-sounding lead guitar tone is critical to a rock song.
Although creating a great-sounding lead tone is just one part perhaps the more important thing is to properly record a guitar solo. And there are many different ways you can achieve it.
There are several steps and things you should do to record a guitar solo that sounds awesome, sits in the mix perfectly and adds flavor to the song.
7 Steps To Recording A Guitar Solo
In this beginner’s guide on how to record a guitar solo, I will list all the steps you need to accomplish to have a mind-blowing and juicy lead guitar tone. Follow these steps and you will have a good understanding of recording guitar solos.
1. Dial-In A Good Lead Tone

The first step to recording a guitar solo that sounds awesome is to create a good lead guitar tone. The source sound is critical to the recording because it will determine how good it will sound in the mix.
I know that good guitar sound is very subjective and it depends on the type of song but there are some tips you can follow.
You need to use good guitar and amplifier or an amp sim of your choice. Then you need to choose the type of sound you want a clean tone, a dirty lead tone, or a heavy tone.
The goal is to create a sound that the song requires and also it must sit well in the whole mix. Don’t use too much distortion because it will make the solo sound not pleasing.
Also, boosting mid-range frequencies will make the guitar solo more prominent in the mix. I have a guide for creating lead guitar tone where I explain the topic in-depth and I recommend you read it.
2. Prepare Your Guitar For Recording
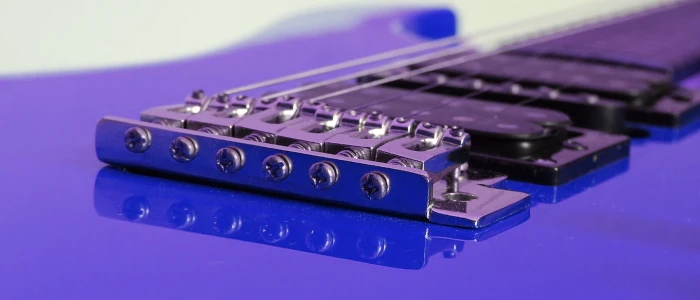
The next thing to do before recording guitar solos is to prepare the instrument for recording which is not a hard thing to do. But it’s crucial for recording and quality of sound.
First of all, make sure that you install new strings because fresh guitar strings will sound the best and give you a rich guitar tone. You can use any brand or string gauge but here are some of my favorite electric guitar strings.
After you change strings it’s time to adjust the action of your guitar and more importantly, adjust guitar intonation.
You can adjust guitar action with a truss rod and bridge. With a truss rod, you can adjust the neck of the guitar and the bridge will help you to adjust the string height. You can set your guitar action as low as you want but try to avoid string buzz.
Guitar intonation is more important because a guitar that is out of tune will not sound good. So, make sure that your intonation is perfect.
You can learn more about these topics here.
3. Practice Your Guitar Solo
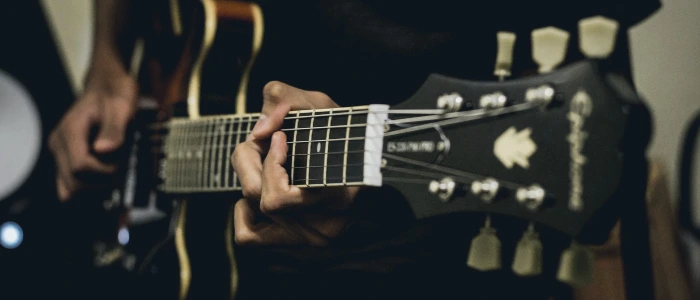
We all know that practicing is important but it’s more important for recording. You must know your guitar solo well to record perfect guitar solo tracks and practicing helps a lot.
When you finish creating your guitar solo just play the rhythm part backing track and practice your guitar solo over and over until you make it perfect.
From time to time you can record it and hear how it sounds in the mix. This way you may find that some parts of the guitar solo don’t work or sound as you imagined and you may change it.
Also, you may find that the song requires a different kind of solo and you may change some parts depending on it.
So, practicing a guitar solo before recording is very important to have a perfect guitar solo track and also helps to come up with new ideas
4. Record Several Takes
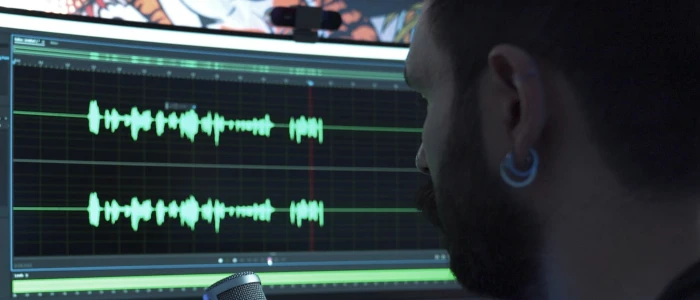
After you do all of these it’s time to start recording your guitar solo and to achieve the best result to record several guitar solo tracks. Various guitar solo tracks are great because you will have a choice to use the best take.
Also, while recording, you will make a few mistakes but don’t be afraid because it’s natural. And don’t stop if you make mistake. It’s better to record the guitar solo from start to finish despite mistakes.
After you get used to it, you will be able to record perfect guitar solos without mistakes and you will have several tracks you can choose from.
Don’t use any effect in this stage. Just record the guitar with an amp sound whether it’s a clean or dirty tone. You will add effects later in the process.
5. Choose The Best Take
Having several guitar solo take is great because now you can listen to all of them and choose the one that sounds the best. But sometimes that not be the case and there is another way.
Of course, it’s great if you use one take as a main guitar solo track but you can choose different parts from different takes too.
For example, you could take the first part of the solo from one take and the second half from another. But make sure that it sounds cohesive when you chop different takes and glue them together.
Because sometimes when you use parts from different recorded takes it might not sound natural. The transition from one part to another must be smooth and unnoticeable as these are from different takes.
So, you should try to record the best take in one sitting and use it as the main guitar solo track. But you have the option to choose different parts from various takes too if you record several takes.
6. Make Small Edits
After you record and choose the take as a main guitar solo track it’s time to make some minor edits to make it better.
For example, there might be a small issue with the timing that is noticeable. In this case, you need to edit it right away before you start mixing.
Mixing is a separate step in music production and it’s very important. And you need to make any changes you want before the mixing process. So, it’s the best time to edit your guitar solo track.
Modern digital audio workstations allow you to make almost any change to your tracks and you can edit timing issues or other problems easily.
7. Add Effects
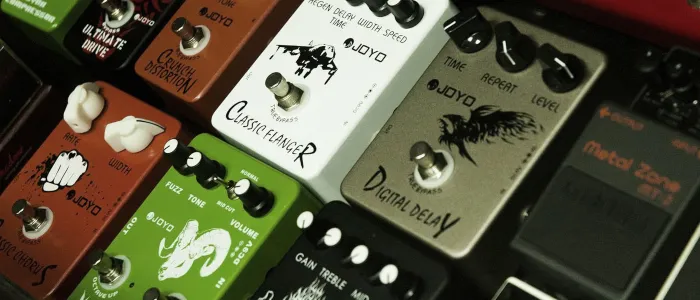
The last step when recording guitar solos is to add effects to your lead guitar track. This gives you more freedom to shape your sound and use the proper effects such as delay, reverb, or any other effects.
Of course, you can add guitar effects while creating a tone and record that way but you will have limitations.
For example, what if you don’t like the sound of the effect after you record the track? You can’t remove it and you will have to record it again. And we don’t want to record the same part over and over.
That’s why it’s a good idea to add effects to your guitar solo after you record and edit the track. You have options to try various effect settings, try different effects, and use only what you like.
How Many Times Should You Record Lead Guitar?
In general, you need to record the lead guitar only once because one track is enough for a guitar solo. But if you want to create a stereo sound, then you will need two lead guitar tracks recorded separately.
It’s a common practice to double-track rhythm guitars that gives you a more powerful and full sound when you pan guitars left and write. It will work with guitar solos too but it’s not necessary.
Some guitar players like to double-track their guitar solos and if I’m not mistaken, John 5 is one of them. And John 5 has an awesome-sounding rhythm and lead guitar tones.
So, if you want to add another layer to your guitar solos or create a stereo effect, then you can double-track it.
But double-tracking requires preciseness so you will have to practice more and record both tracks perfectly.
Conclusion
As you can see to record a guitar solo you need to do several things that might sound difficult. In reality, it’s not that hard and after some practice and experience, you will get used to it. The important things to get a great lead guitar recording are to have a good tone, play it perfectly, and add effects to add more depth to the sound.
Additionally, if you want to have a more powerful and unique lead guitar recording, you can double-track your guitar solo and create an interesting stereo sound.
