You may think that it’s hard to record electric guitars in your home recording studio. But in reality, it’s easy if you know what guitar tone you want.
You have different options when it comes to electric guitar recording. You can use real amps or guitar amp simulations.
Also, the type of guitar tone is very important. You may need a clean tone, crunchy, or even heavy tone. But the approach is almost identical. There are some very minor differences.
In this guide, you will learn and have a good understanding of how to record great guitar tones.
Record Electric Guitars: Prerequisites
But before you start electric guitar recording, there are various things you should do. You need to be prepared for a recording session. If you are not ready for recording, there will be several issues later.
These pre-requirements aren’t only for guitars. Every instrument recording requires preparation. For example, bass guitar recording has similar prerequisites. Every recording session requires preparation.
Here are a couple of important steps to complete before you start the electric guitar recording session:
- Restring Your Guitar – When you record electric guitars or any stringed instrument, always change old strings. New guitar strings have a much better and fresh sound. Also, they stay in tune.
- Set Up Your Guitar – Adjust the action and intonation. Set up action as low as you can. Avoid fret buzz. Playing should be comfortable. Also, intonation is very important.
- Learn Your Part – You need to know your part very well. Your playing during the recording should be as tight as possible. So, learn and master your guitar parts before start recording.
These are the main steps to complete before you start recording. After that, you are ready for recording.
The Best Way To Record Electric Guitars
Let’s learn how you can create great-sounding electric guitar tones and record at your home studio.
1. Create Awesome Guitar Tones
It’s time for the first step which is the creation of a guitar tone. This is one of the most important steps when you record electric guitars. If you don’t create a good tone from the start, you won’t be able to change it later.
It doesn’t matter whether you are recording clean or heavy guitars. The tone creation approach is the same. You need to create two guitar tones that sound great together and sit well in the whole mix. Also, you need good electric guitars to record great tones.
And you want to create two different tones. Because you want to record the same part twice and then pan them left and right. This will create a stereo image and the sound will be fuller.
There are numerous ways to create different tones. You can do one of the following:
- Use different guitars
- Use different amps
- Use different cabinets
- Use different microphones
So, the goal is to create guitar tones with different equipment. If you have only one amp, use different guitars, or vice versa. Something must be different between the two tones.
But if you use guitar amp sims, then you can use the same guitar but change amps, cabinets, and microphones.
When you record two guitars with different tones, this makes the sound richer, wider, and juicier. So, never record the guitar same part with the exact same guitar tone. Change something, at least pickups or amp settings.
If you record the same guitar part with the same tone, the sound won’t be that great. It will sound like mono and uninteresting.
After you pick your gear, it’s time to create a guitar tone. Let’s discuss tone creation with real guitar amps and amp sims.
Real Guitar Amp Tones
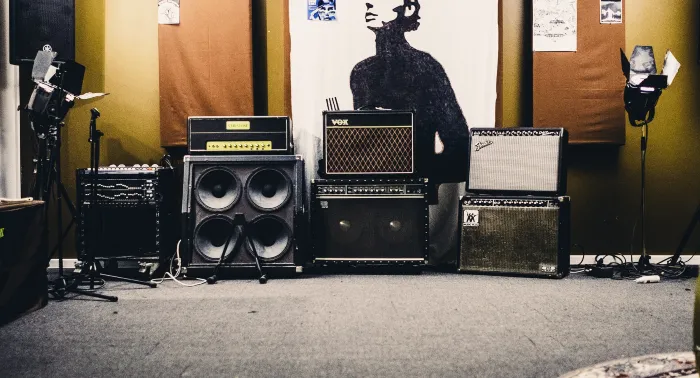
The approach to amp recording is a little different. To create a good tone, apart from the guitar, you need a good guitar amp and a microphone. Also, you can use different types of mics in pairs. But for simplicity, you can use one.
When you are recording a song, you should already have an idea of what kind of guitar tone you want. So, choose your guitar, and amp, and start tweaking the amp settings.
You need to do it for both guitars. You may use a different amp or guitar for the second tone. And after you are satisfied with the sound, it’s time to place your mic in front of the amp.
There are no rules in mic placement. You need to find the spot where the microphone captures your tone best. It all depends on your amp and microphone.
If you are using two mics, you can place one mic close to the amp and another one a little far. It will create a natural room sound.
While you are doing this, record the riff section in your DAW and check how it sounds. Continue doing this until you find the best microphone placement for your amp. Do this for both guitar tones.
Guitar Amp Sim Tones
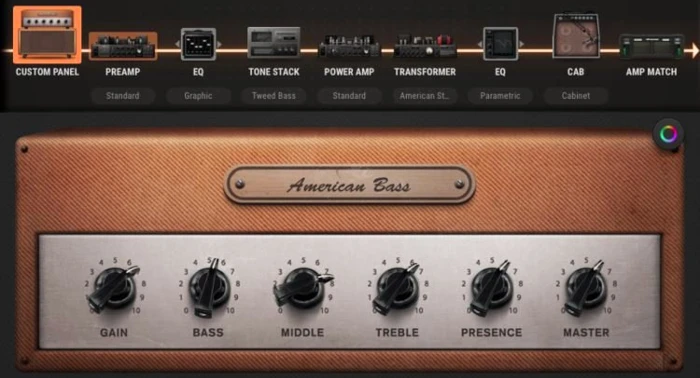
It’s easier to record electric guitars with amp sims. You just need your guitar and your favorite guitar amp sim. No real amp or microphone is required.
Now you can use the same guitar for both tones but change the amps to get two distinct guitar tones. Or you can change cabinets and mics.
The process is the same. Create the guitar tones you like the most and think will be great for your song. Fortunately, you have a huge variety of amps and cabinets in modern amp sims.
You don’t need to record sections to check how it sounds. You already hear the tone. It’s necessary when you are using real amps and microphones.
After you are satisfied with your guitar tones, it’s time to test both guitar tones and how they sound.
2. Test How Guitars Sound Together
Now, you have two unique-sounding guitar tones. You like it and they sound great. But it’s important to check if they sound great together.
For that, you need to choose a section from your guitar part and record both guitars. It’s better to pan one guitar left and another guitar right to hear them in stereo.
Listen carefully and see if there are any problems. You need both guitars to sound great together. They should be clear and sound like one big, heavy guitar sound.
If they don’t sound awesome together, try to tweak the settings and make them work together. You need to find out why they don’t work well together.
There could be a couple of reasons why two guitar tones don’t work well:
- Two tones are quite similar and there is a frequency battle. Try to create different types of tones. For example, one could be mid-heavy, and the second one has less mid-range.
- Tones are very different and don’t work well together. You don’t need too much difference between tones.
- One guitar is heavier than the second one. Make sure there is a balance between two guitar tines.
- There could be a phasing issue. When you record with microphones, many times it’s phasing that causes the problems. Learn more about it here.
There could be other problems too. Just listen carefully and find out why guitar tones don’t work together. Use your ears. Find out what you don’t like.
Also, you can check the frequency range of both guitars with a spectrum analyzer or EQ plugin. You will see the frequency range of both guitars and if there is any kind of frequency overlap.
Tweak the sound until you are satisfied with your guitar tones. And after that, you can start recording.
3. Record Your Guitar Parts
The last and very important step in the guitar recording process. After you do everything mentioned above it’s time to record electric guitars.
You can record both guitars separately or at the same time with another guitar player. It’s up to you which method you prefer.
But the goal is to play at your best. Your playing must be very good, tight, and on time. Make as few mistakes as possible. Playing should be clean.
Also, another important thing. Don’t record part by part. Always record electric guitars or any other instrument from start to finish. It will sound more natural.
If you make a major mistake, start over. But don’t stop for minor mistakes. You can always edit and re-record small sections later. Modern DAWs allow us to do that.
When you know your parts very well, your playing will be better, and tight, and you will make fewer mistakes.
And finally, you need to record one part two times. That’s the whole point of these. Many beginners record one time, copy and paste it on another track and they just change the tone.
That’s a big mistake. You need to record both parts separately. It will sound natural, richer, and fuller.
Conclusion
To record electric guitars perfectly, there are several steps to complete. You have to master your part, create good and distinct tones for two guitars, and record them separately. Playing must be perfect and you need to play the part from start to finish. It works with real amps and amp sims as well.
This electric guitar recording guide is for any type of sound. Whether you record a clean, crunchy, or heavy tone, you should follow these steps. The guitar is one of the most important instruments in music, so it must sound great.